Installing Sod Yourself: A Comprehensive Guide for Homeowners
When you're ready to transform your outdoor space, DIY sod installation could be the perfect solution. With the right preparation and approach, you can achieve a lush, green lawn that adds value to your home. Before you start, however, there are key factors to consider to ensure success. Let's explore the steps you need to take to create a vibrant lawn that you can be proud of.
Selecting the Right Type of Sod for Your Lawn
When picking the right type of sod for your lawn, how do you know which variety will flourish in your specific environment? Commence by considering your climate. Hot-season grasses, such as Bermuda and Zoysia, thrive in warm, sunny locations, while winter grasses, such as Kentucky Bluegrass and Fescue, prefer cooler temperatures. Next, consider sunlight exposure. If your property gets full sun, you can opt for a wider range of options. However, shaded locations often need specialized varieties. Also, evaluate your lawn's use; if there's high traffic, you'll require a durable type. Finally, reach out to local gardening centers or extension services to get suggestions based on your region. Selecting wisely now will create a lush, healthy lawn later.
Prepare Your Lawn: Site Preparation and Soil Testing
Prior to laying sod, it's vital to properly prepare your yard, starting with testing your soil and preparing the site. Initially, assess your soil's pH levels and nutrients with a straightforward kit from your neighborhood garden center. This should help you determine what amendments your soil demands for ideal growth.
Following this, eliminate any weeds, debris, or existing grass. If necessary, utilize a shovel or a sod cutter to remove existing grass and roots. Next, till the soil to a depth of approximately 4-6 inches, providing enhanced drainage and root penetration.
Lastly, smooth the soil to produce an even surface, making certain of good contact between the sod and soil. Taking these steps will offer your new sod the best chance to thrive.
Essential Tools and Materials for DIY Sod Installation
Assembling the right tools and materials is essential for a successful DIY sod installation. Start with a sharp spade or sod cutter to clear away old grass and prepare the area. You'll also need a rake for evening out the soil and a shovel for digging. A garden hose or sprinkler will help you ensure proper irrigation after laying the sod. Don't forget a measuring tape to map out your layout accurately.
Regarding materials, invest in quality sod that fits your climate and soil type. Additionally, get some topsoil or compost to improve your existing soil, and consider a roller to flatten the sod once you've laid it. Having these tools and materials ready will make your installation process smoother and more efficient.
Detailed Walkthrough: Installing DIY Sod With Professional Results
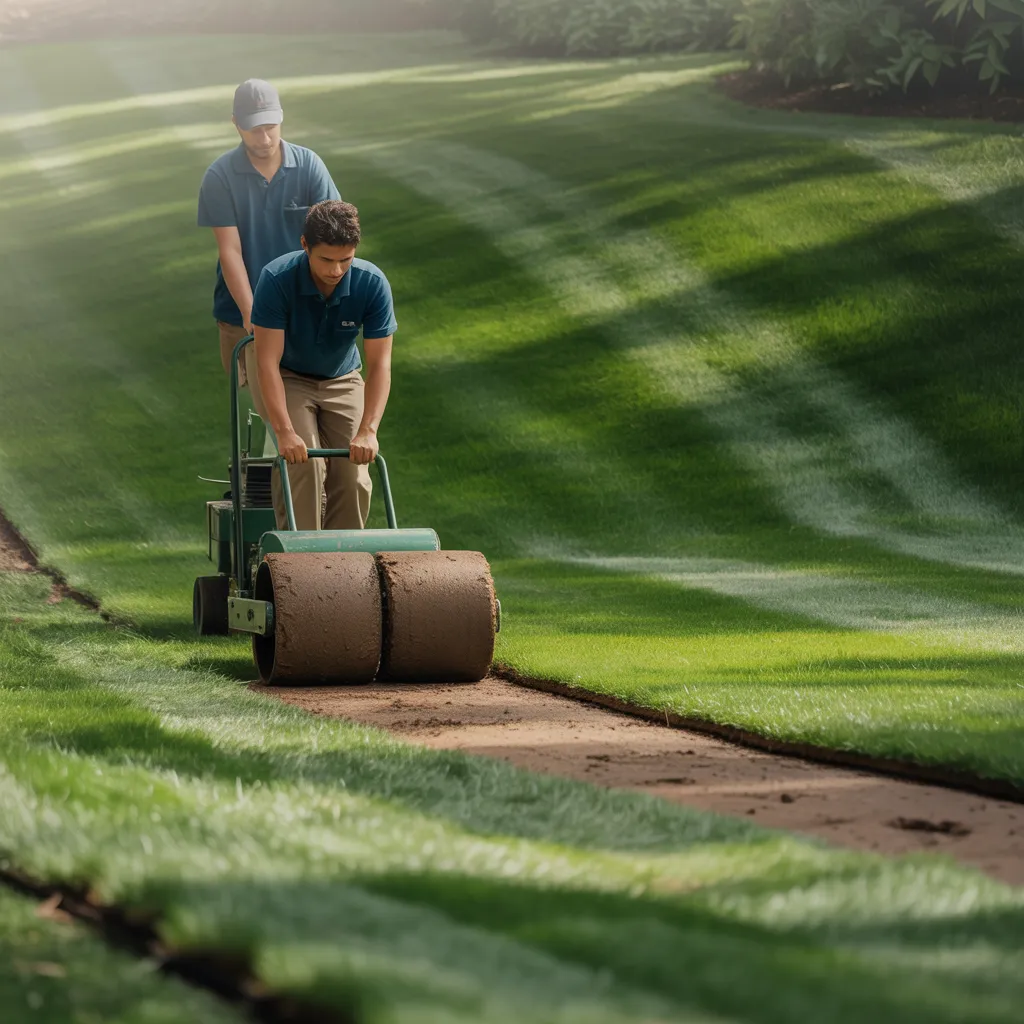
Installing sod can turn your yard into a verdant, green paradise in only a few hours. To start, prep the space by removing debris and evening out the soil. Next, moisten the soil slightly to help the sod establish better. Commence installing the sod along a straight border, alternating the seams like brickwork. Press the edges together firmly to eliminate gaps. Employ a sharp cutter to slice any surplus sod at the perimeter. Once installed, roll the sod carefully with a roller to ensure proper soil contact. Water the sod immediately, soaking it thoroughly. Maintain the sod damp but not waterlogged for the initial few weeks. Stick to these instructions, and you'll enjoy a gorgeous lawn quickly!
Key Watering and Care Advice After You've Finished Laying Turf
Once you've successfully laid your sod, correct watering and upkeep are crucial to confirming it develops roots and grows well. Start by watering your fresh sod right after laying it, soaking it thoroughly to encourage deep root growth. Throughout the first fourteen days, keep the soil continually wet, applying water one to two times per day if conditions are warm and sunny. After that, lower watering frequency to two to three times a week, based on rainfall and temperature. Remember to mow your sod once it grows to about three inches in height, but avoid cutting more than one-third of the height at one time. In conclusion, apply a starter fertilizer after roughly four weeks to offer your newly established lawn the nourishment it requires to prosper.
Problem-Solving: How to Proceed When Your Sod Isn't Taking?
If your new sod isn't thriving, it's time to identify the problem. Initially, check soil moisture levels, as overwatering or underwatering can prevent establishment. Following this, look for pest infestations and evaluate sunlight exposure to guarantee your sod gets the proper environment to flourish.
Examine Moisture Volume
How do you determine if your soil contains adequate moisture for sod to flourish? Start by testing the soil with your fingers. Dig down about an inch; it should feel moist but not soggy. Dry conditions can prevent your sod from establishing a strong root system. Saturate the area completely and give it two days before checking once more. If you see puddles or mud, you may be overwatering. Another method is using a soil moisture meter, which gives a clear reading of moisture levels. The goal is to maintain soil that stays moist while draining properly. Adequate moisture ensures your sod establishes roots and develops vigorously, creating the basis for a verdant lawn. Make adjustments as needed for best results.
Check for Pests
Examining for pests is crucial when your sod fails to take root properly. Start by inspecting the grass blades and soil for any evidence of insects such as grubs, chinch bugs, or sod webworms. Look for irregular patches, discoloration, or dead spots, which could suggest an infestation. If you spot any pests, act promptly. You can use insecticidal soap or neem oil for a natural approach, or opt for chemical treatments created for specific pests. Furthermore, check for evidence of disease, like fungus or mold, which can also impact your sod's health. Don't overlook to inspect the nearby area, too, as pests can easily transfer from nearby plants. Addressing pest issues quickly will help your sod flourish.
Examine Sunlight Exposure
Are you certain your sod is obtaining enough sunlight? If your sod isn't taking root, poor sunlight may be the culprit. Most grass types thrive in full sun, needing at least six to eight hours of direct sunlight each day. Inspect your yard for any shading from trees, buildings, or fences that could block needed light. If you discover areas lacking sunlight, consider cutting back overgrown plants or moving sod to a sunnier area. You could also investigate shade-tolerant grass varieties if your yard is mostly shaded. Remember, healthy grass needs that sunlight to build deep roots. Check your sunlight exposure often, and make changes as needed to make sure your new sod flourishes.
Do You Need Professional Help for Your Lawn?
Although numerous property owners pride themselves on their do-it-yourself abilities, installing sod can be a challenging task that leaves you wondering if it's better to call in the pros. If you have limited experience in lawn care or lack sufficient time for the undertaking, hiring professionals might be your best bet. They'll guarantee proper soil preparation, precise measurements, and optimal installation techniques, resulting in a beautiful, flourishing yard.
Furthermore, if your lawn has specific challenges, including poor drainage or uneven terrain, experts can resolve these problems effectively. Don't forget, utilizing professional help can spare you time and frustration, creating a thriving lawn that enhances your home's curb appeal. Finally, weigh your abilities and schedule against the prospective benefits of bringing in a specialist.
Common Questions
How Much Time Does Sod Need to Root Effectively?
Sod generally requires approximately two to three weeks for proper root establishment. Throughout this period, maintain consistent soil moisture, and keep off the lawn to make sure your lawn establishes correctly.
Is It Feasible to Install Sod During Winter Months?
Installing sod during winter months isn't possible. Low temperatures impede root development, preventing the sod from establishing properly. It's best to wait until spring when circumstances are optimal for proper establishment.
What Steps Should I Take if Brown Spots Appear on My Sod?
If your sod develops brown spots, examine for pests, diseases, or incorrect watering. Adjust your watering schedule, fix any problems, and confirm your lawn receives proper nutrients. Consistent maintenance will aid in restoring those brown zones.
How Often Do I Need to Fertilize My New Sod?
You'll want to fertilize your new sod roughly six to eight weeks after installation. After that, apply a balanced fertilizer every six find guide to eight weeks throughout the growing season to keep your lawn vibrant and healthy.
Is It Necessary to Edge My Lawn After Laying Sod?
It's advisable to edge your lawn once sod has been installed. This creates a neat border, improves the aesthetic appeal, and assists in retaining soil moisture. Furthermore, it keeps grass from migrating into landscaped areas or pathways.